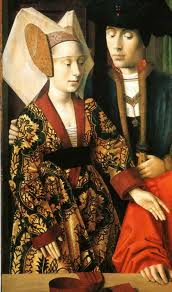
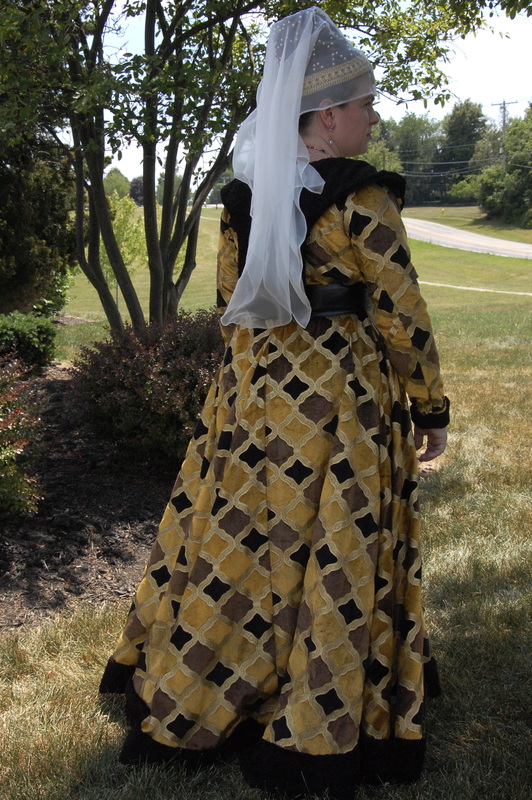
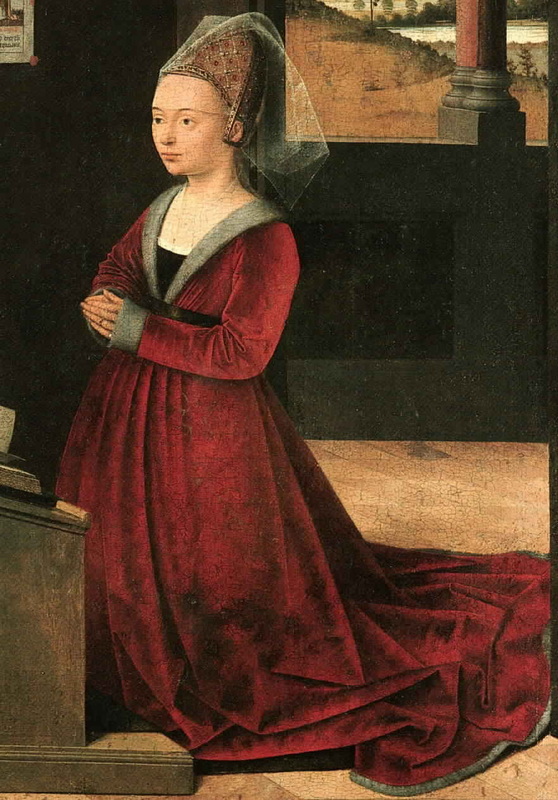
On this final layer it became very evident that I needed to focus more on what time frame I wanted the gown to be from in order to determine how to construct the gown. The shape of the gown changed over the 50 year span it was popular changing from the looser houpplande style and evolving into a much more fitted gown with a much wider and slightly rounded neck by the end of the century, leaving different methods to achieve the look.
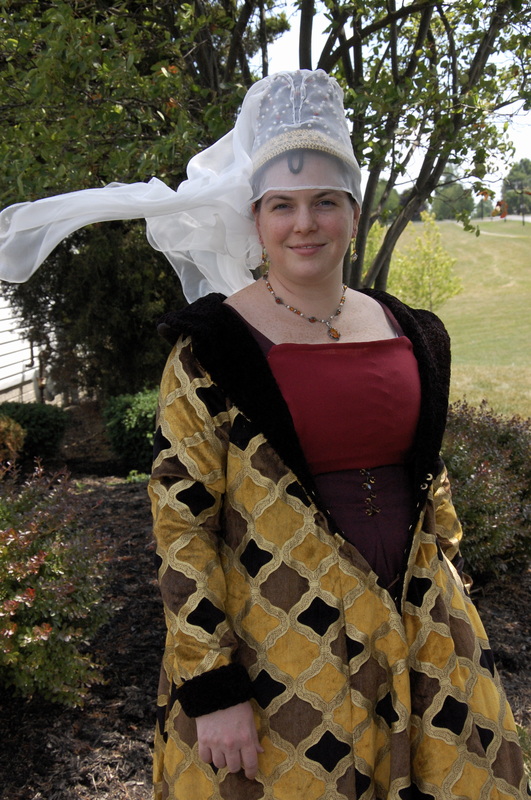
One of the aspects I found the most interesting was the fur trim around the neckline and how it hung in the back. Since it is often depicted hanging loosely over the belt, it isn’t attached to the gown, and yet is part of the neckline. Honestly I found it to be a bit odd…what was its purpose? Why not just bring the collar around the neckline? And how do I deal with it?!
One of the aspects I found the most interesting was the fur trim around the neckline and how it hung in the back. Since it is often depicted hanging loosely over the belt, it isn’t attached to the gown, and yet is part of the neckline. Honestly I found it to be a bit odd…what was its purpose? Why not just bring the collar around the neckline? And how do I deal with it?!
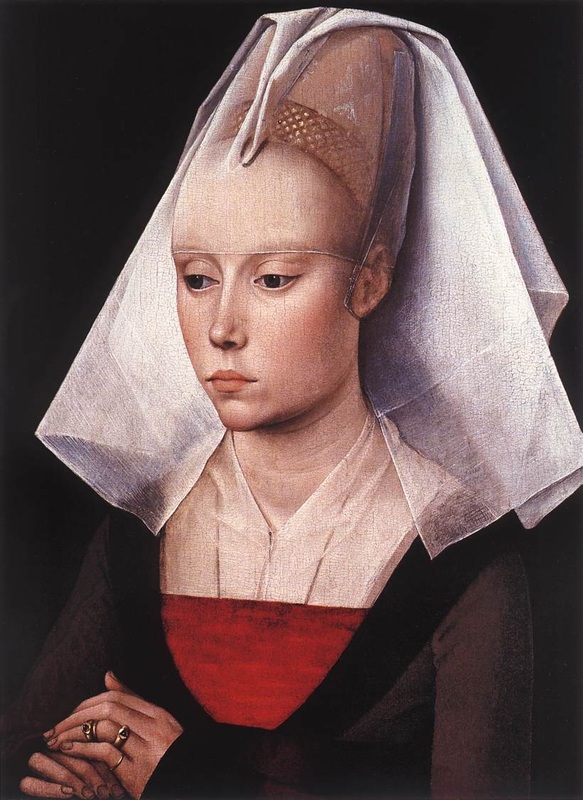

Then I came across a plate drawing showing the gown open. I noticed how the fur was completely inside gown either lining or partially lining the gown. Of particular interest in this plate was the fact that the opened portion was laying in the same manner as the collared portion in the portrait. This made me wonder if the collar is actually the gown opening with the lining showing rather than a separate piece.
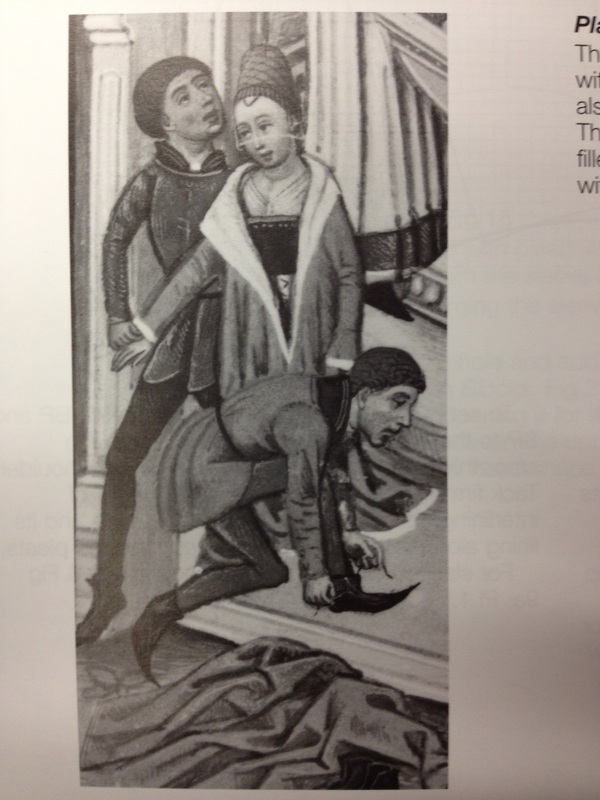
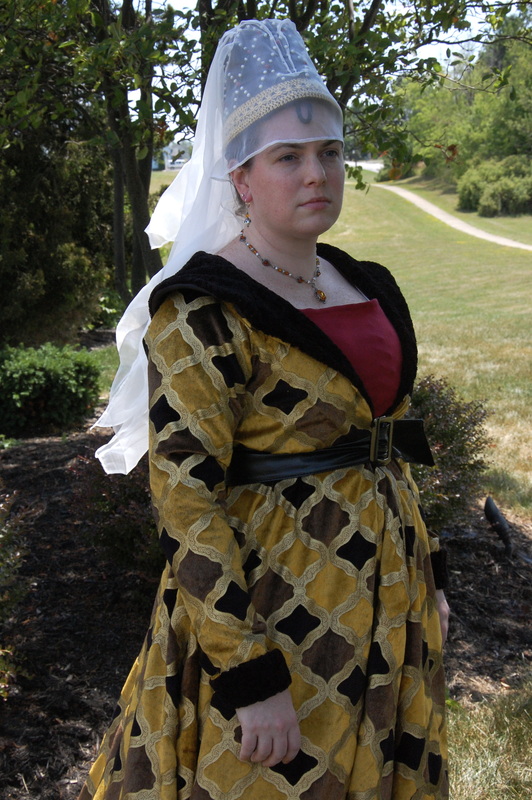
The evolution would certainly make sense going from the closed, high collared houpplandes. Simply pulling in the upper body section a bit tighter, add lacing to the front and stopping at the chest area, the collar would fall open and expose the lining. This can even be seen in some portraits where the “collar” seems to tent up around the neck in earlier gowns such as the one shown to the far right in the first set of pictures. Following this theory the back portion of the high houpplande collar could have been modified into a separate piece that is adjusted and stylized over the evolution of the gown, and would explain why it’s not tacked down as a collar would be. Another advantage is the fur section could be pulled in tighter around the shoulders and neck if needed for warmth and then released again for appearances. This is akin to the gown being like a zip front hoodie which lies in essentially the same manner if only partially zipped.
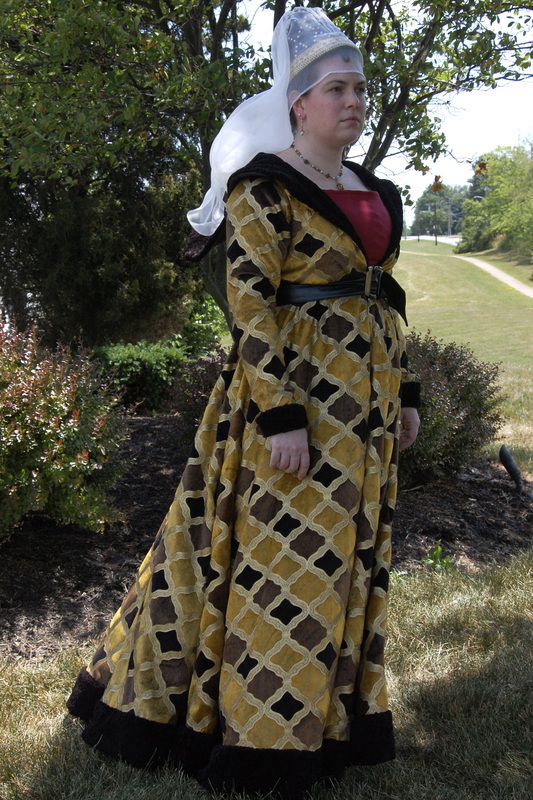
The next issue is how to deal with the layout of the gown. In earlier versions it has looser sleeves and body that creates gathers when belted. In addition the neckline isn’t as wide. By the end of the century the top is very tight with voluminous skirts and very tight sleeves. This means body, or more specifically the ribcage, chest and sleeve area changes over time. Another indication that specificity on the gown I want is needed. In the end, I decided on a middle of the road gown that has tight sleeves and fitted body, but not so tight it looks painted on or has the more circular neckline.
In looking at the construction of somewhat similar loose gowns in books such as Janet Arnold’s Patterns of History 3 & 4, it appears loose gowns are cut at an angle from around the arm pit. I originally considered making the skirt a full circle by going straight out from around my ribcage. I realized after making my daughters that this creates flat spots in the front and back and an excess of drape at the sides. Therefore I went back to an angled perspective and the addition of several gores to create the voluminous skirts.
As my material was a bit pricey, I only got 5.5 yards of it (it is 54” wide). It is patterned, and has a nap. This presented several difficulties in laying out the pattern to maximize skirt volume, maintain the pattern, being aware of the nap, and have enough for all the pieces. Luckily the nap is very, very small so it makes little difference.
Another thing in my favor is the fact that the medieval tailor appeared to not be overly bothered or concerned with the directionality of patterns or nap. The few surviving patterns layouts and a surviving sideless surcoat show this. What was important was minimizing layout waste. Therefore, I’ve decided to go with the following layout for my gown. (It is worth noting the length is only to where my bottom trim will meet rather than to the ground as I didn’t have enough fabric.) I am able to use the “waste” where the fold is to create two side gores with the nap going in the wrong direction and the other two for my sleeves with the nap going the right direction. This leaves me with very little waste.
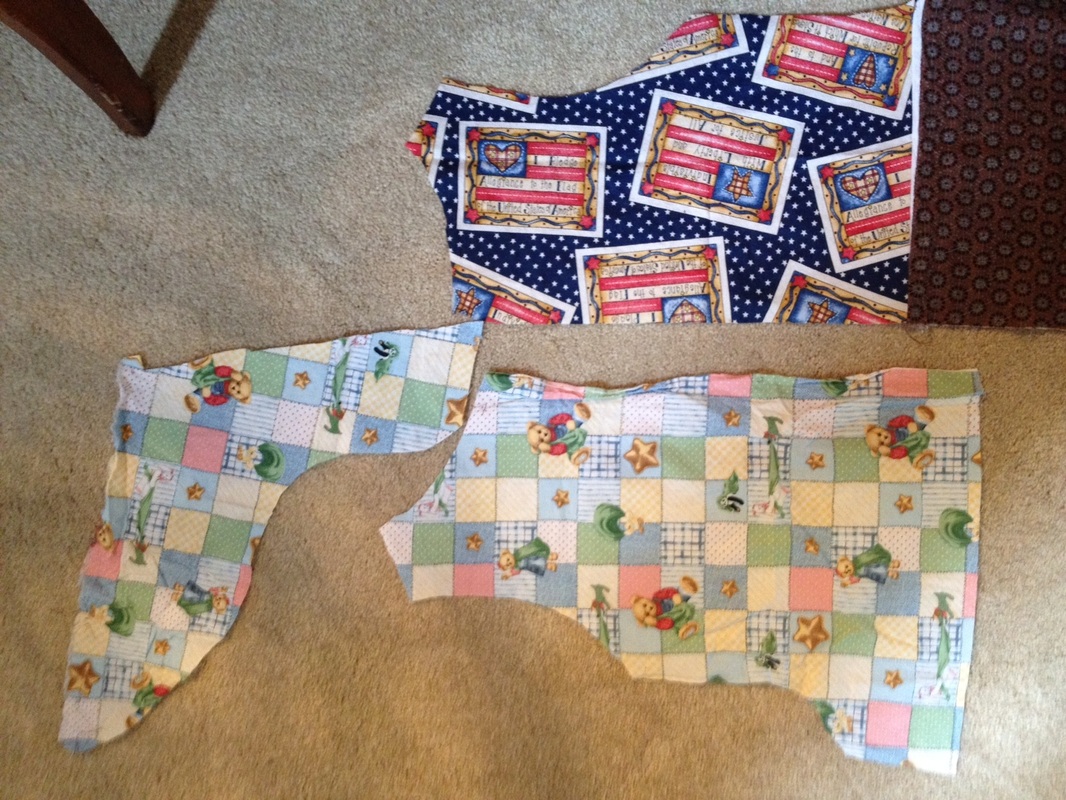
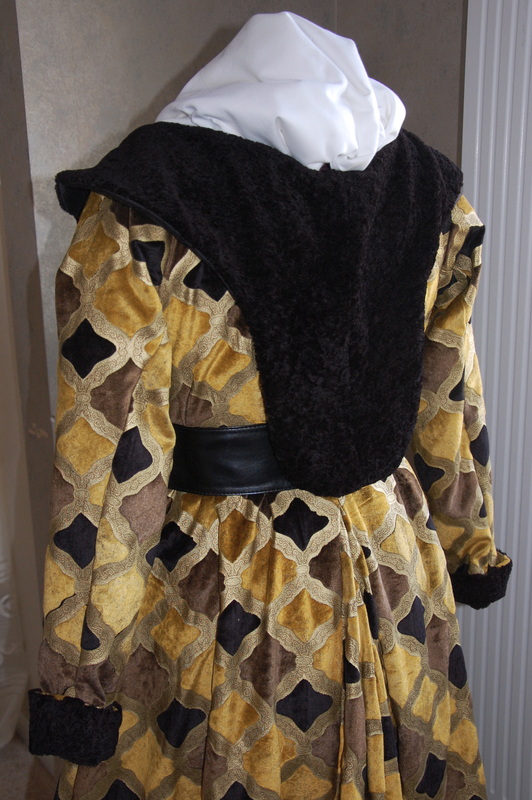
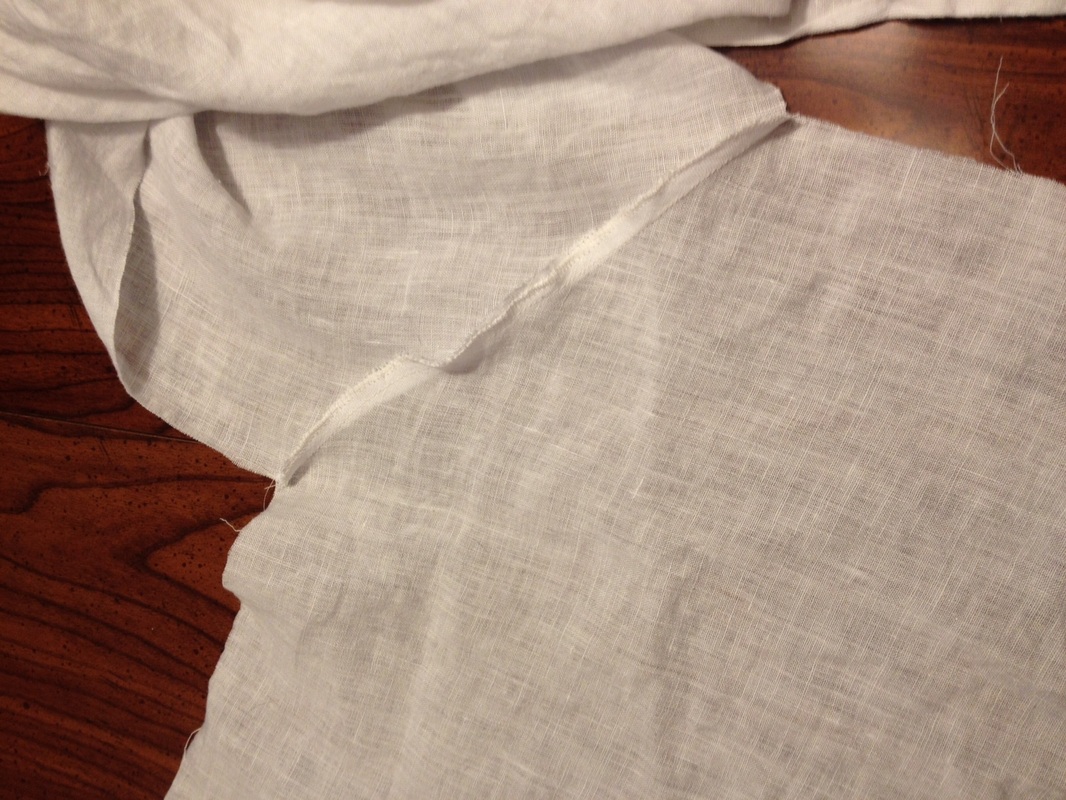
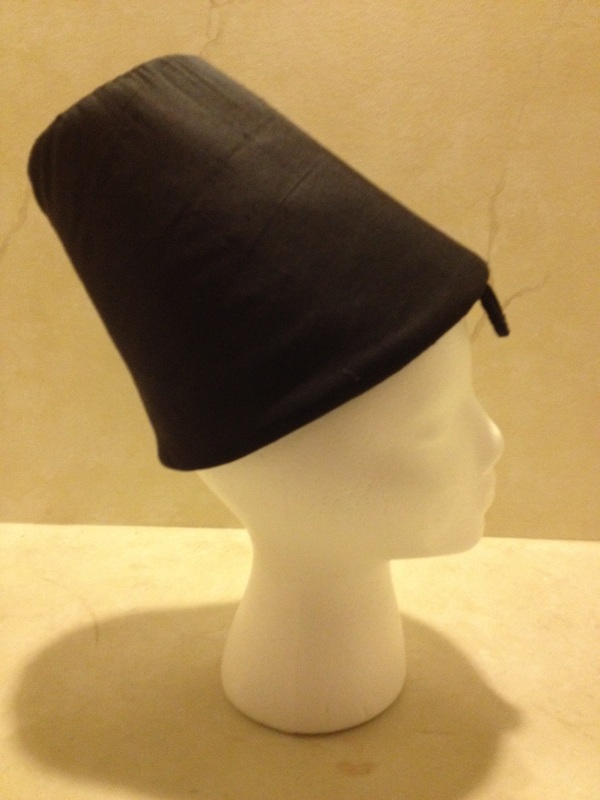
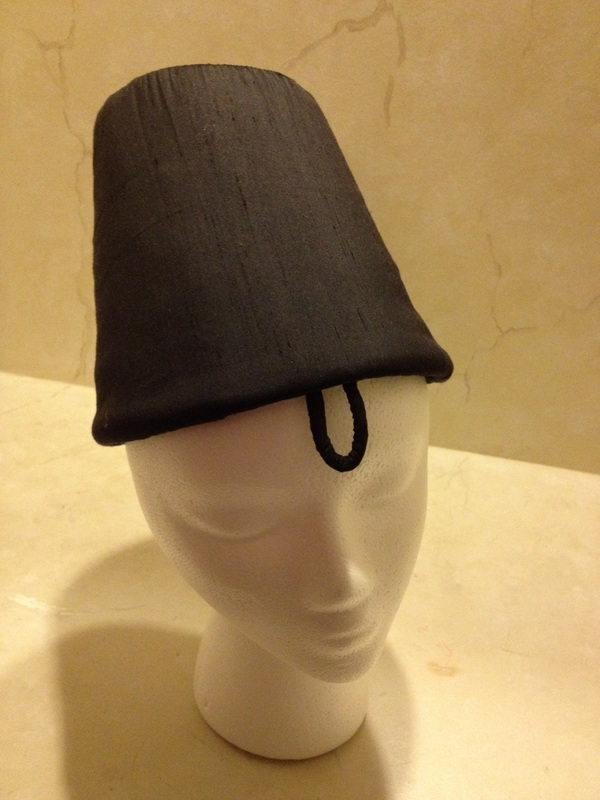
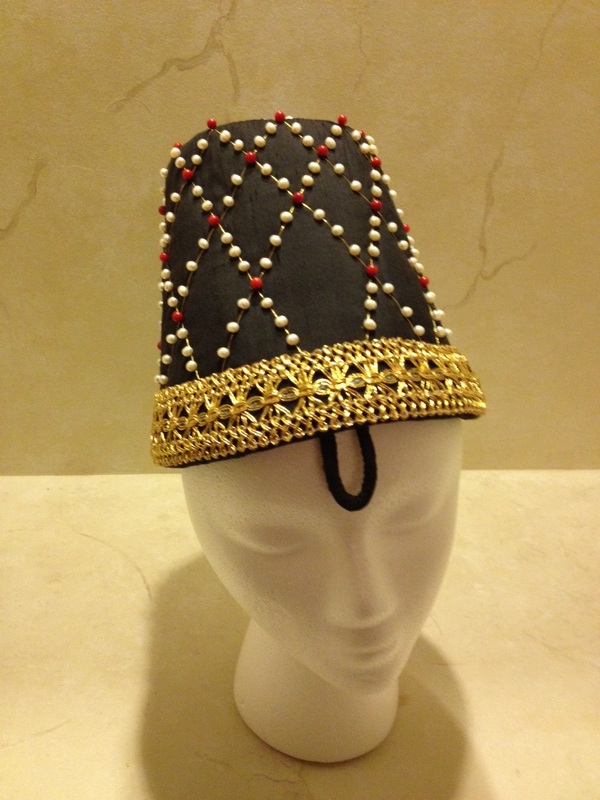
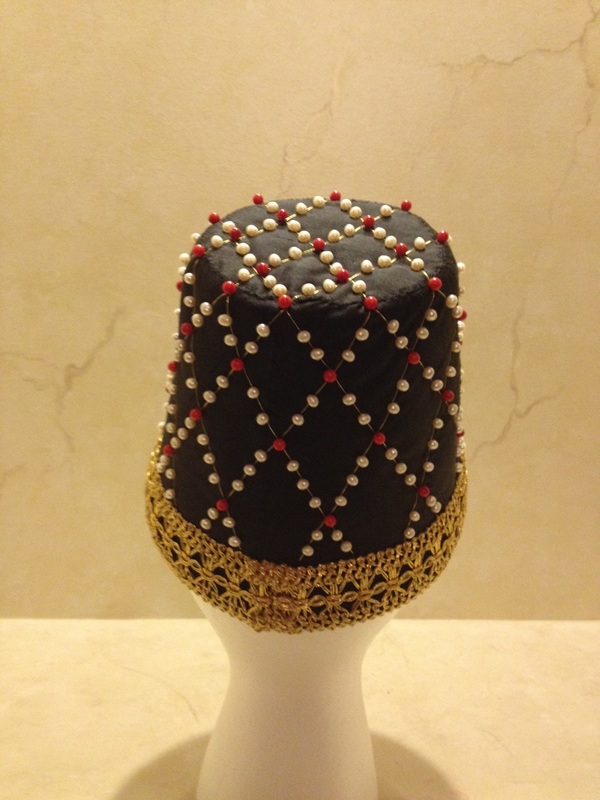
Going clockwise, the pattern pieces are the front, the back and the "hood." The angled straight (by upside down bear) is sewn together. The straight is then sewn to the collar line.
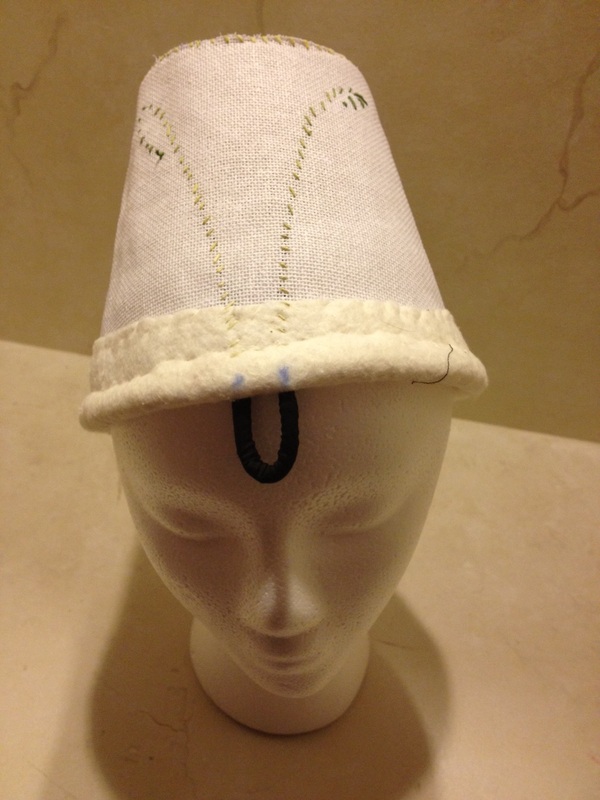
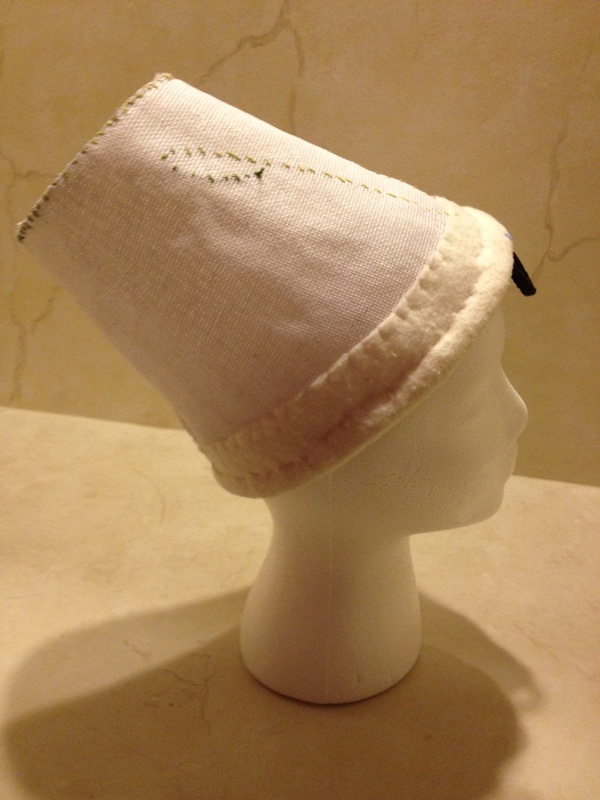
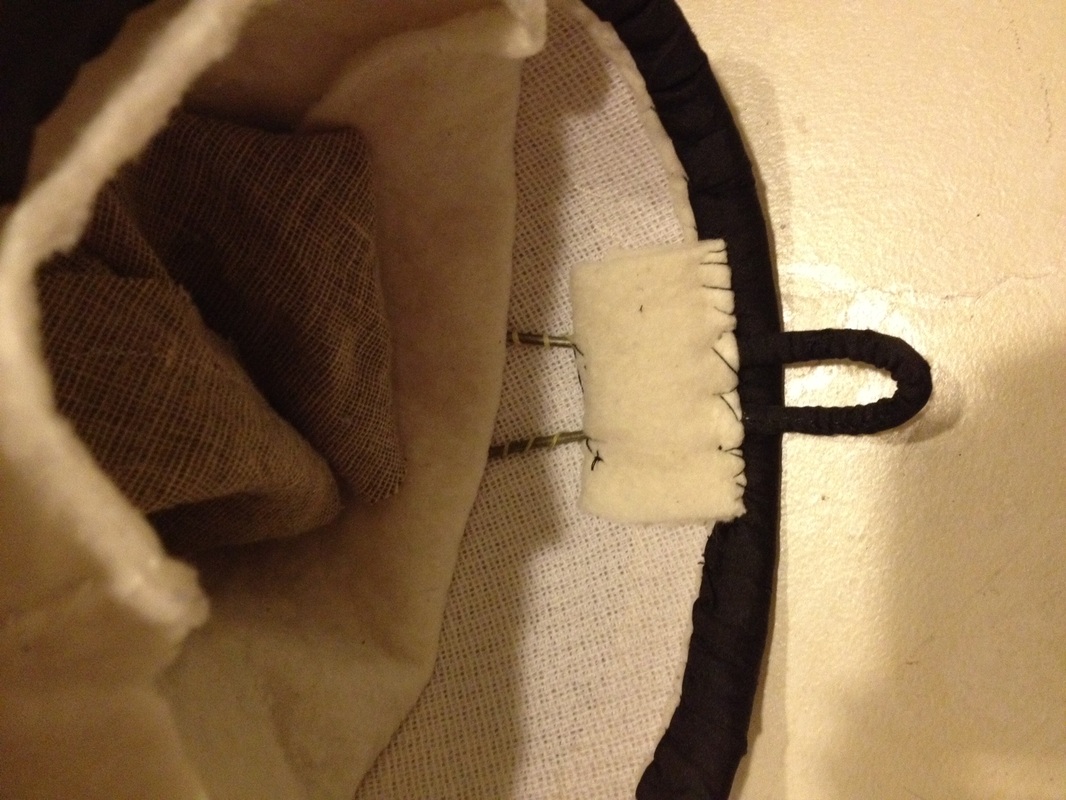
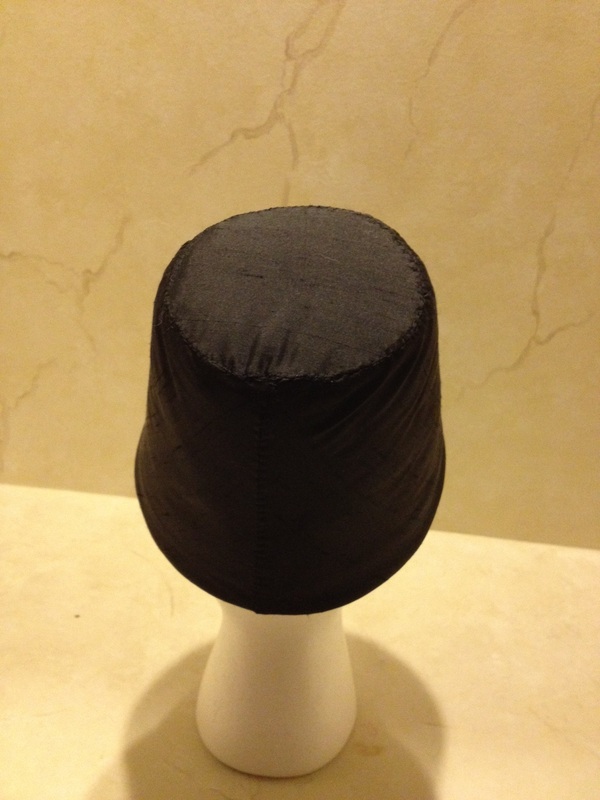
As far as the back portion of the collar, which I’m now calling a hood, as that is roughly how I’m treating it, I’m cutting it out of black silk, since I didn’t have enough of my main fabric for this part. Next, I cut (actually tore) the fur, or in my case faux wool, in to strips for the bottom hem and cut out pieces for the opening, hood and cuffs. Yes, I used straight pieces of fur rather than cutting semi circular ones. This saved from wasting the “wool.” With a small tucks going around, you never know the difference. It also prevents the fur from going in awkward directions as you curve, while not as much of an issue with my choice, it would be a bigger issue if you used real or longer fake fur.
As a note, I choose the “wool” because it has a small pile wasn’t bulky as far as fake fur goes. I’m not a big fan of most faux fur’s for a variety of reasons but primarily since it tends to be expensive but look fake, is traditionally rather thick and bulky, and the long fibers rather make me feel like an overgrown Muppet. However, this “wool” is very nice, super soft, looks amazing and is fairly easy to work with.
Once I had my pieces, it was time to assemble. First, sew the sleeves together and add the fur cuff. Next, sew the bodies together, adding the gores, leaving the front open from about hip area to the top and add the hood. Then I added the bottom trim and the trim to the opening and hood. After that, I attached the sleeves. Finally, I added lacing rings, which are actually #10S brass washers (a bit bigger than I used for the kirtle) to the inside and stopped just under the chest. Voila! The gown is completed. (Please ignore the modern belt, that's my next project...)


 RSS Feed
